|
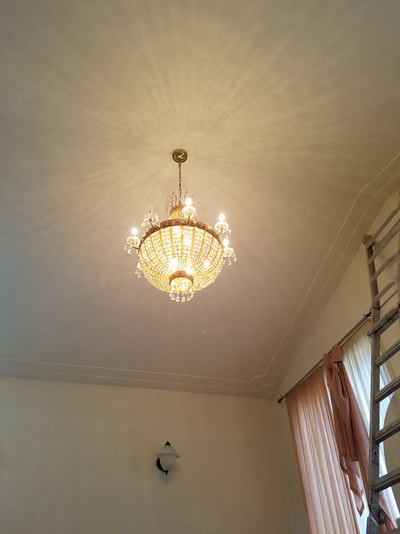
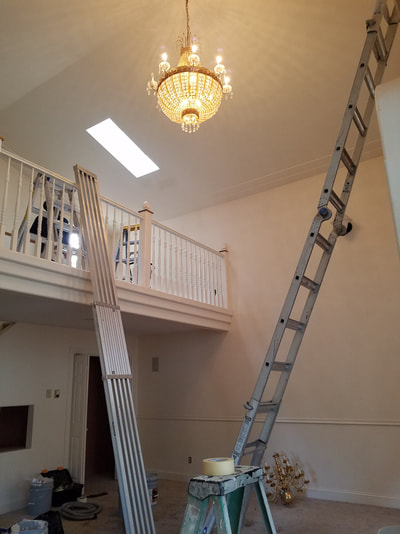
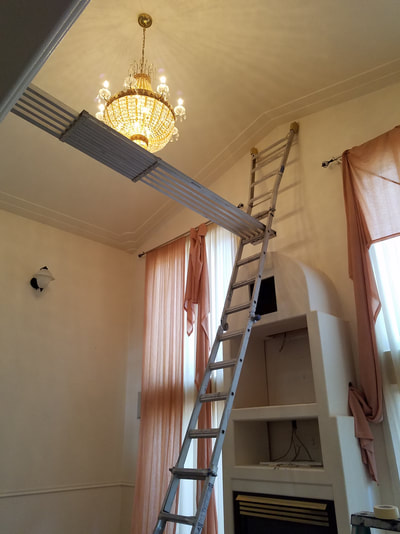
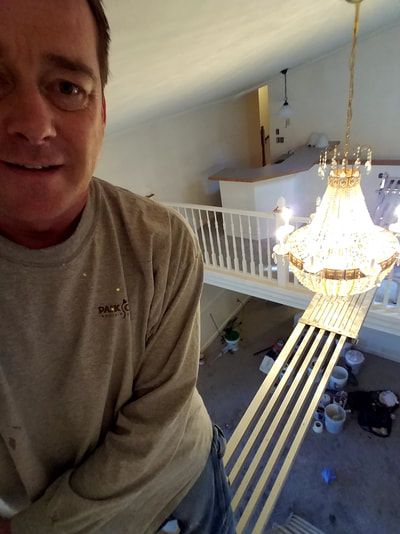
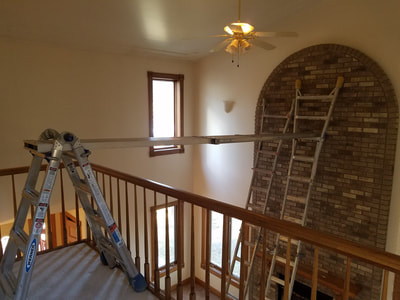
Every once in awhile we in the trades come across tricky situations that require not only the use of ladders, but using the ladders and planks to provide the access to areas out in the middle of expansive ceilings with some little piece of ceiling jewelry that must be painted around. Most folks think of scaffolding to get things done but in my book, scaffolding requires a large amount of space to transport to and from the job. Time to carry in, set up, move, move, move, tear down, move, set up, move, tear down, and then carry out without damaging walls, doors, and flooring. This little post will show the latest escapade my good friend/paint partner, Ryan Dubs with Dubs Quality Painting, LLC. That monster light fixture was this rooms little booger. A 22' multi-ladder on the fireplace wall, a 4' multi-ladder on the balcony to support the other end of the plank. And the final piece was the expandable plank in the middle picture. The banister was protected with layers of tape, but was going to be painted shortly. The third picture is the final setup at the nearly 14 foot height. A view from a top the plank, to give perspective. Then, the other side of the house had another tall room with an even higher ceiling, with a similar situation. Minor cracks to repair and a ceiling fan to cut around and replace bulbs.
The rest of the job went well.
0 Comments
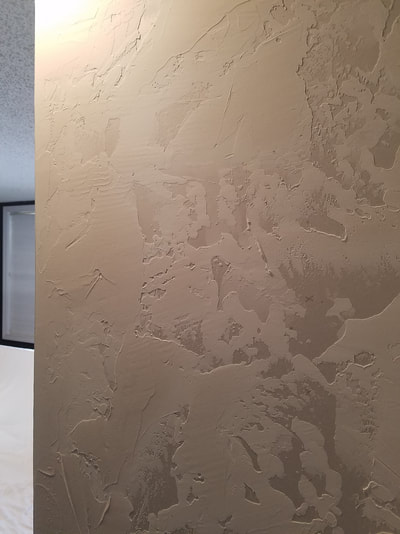
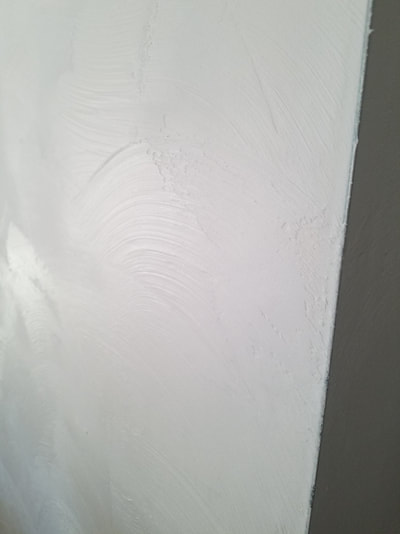
I drive a big van for my business. There is easily over 1000 lbs. of extra stuff in the van for "just in case" situations. Today, one of those moments happened. I was contracted to finish some new drywall at a job. The job included taping joints and taping the edges that were butted up to the ceilings that had texture to not be messed with. The room had a 'skip trowel or modeled' texture that was to be matched. I didn't get a picture of the current texture in the room, but the first pic is my product before priming.
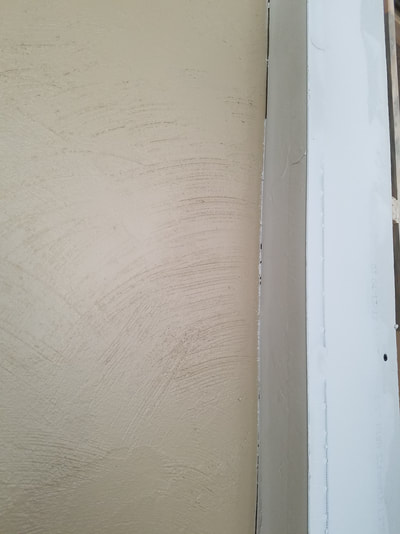
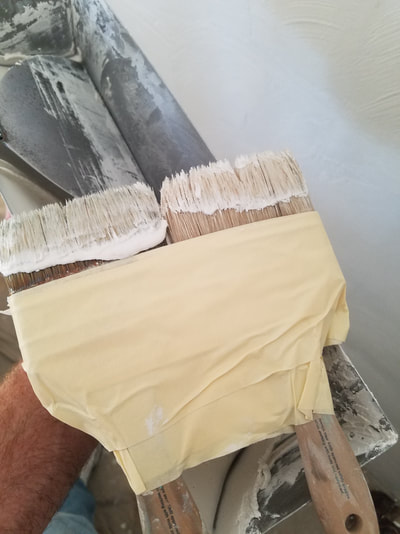
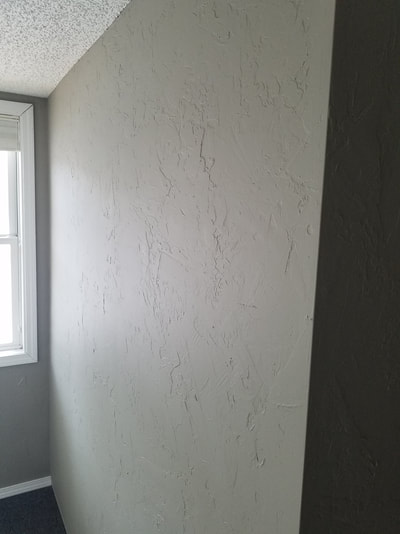
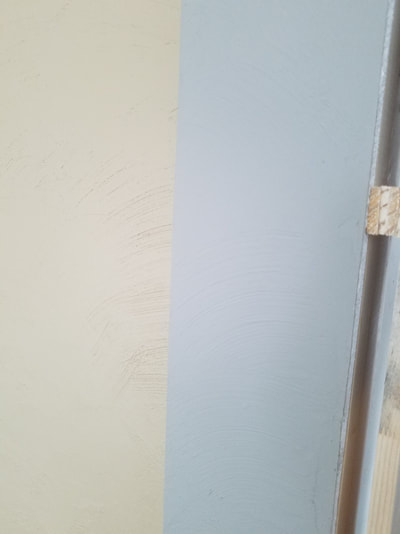
Picture 2: is the texture I had to match in the other room. I came to this job prepared to use a compressor, hopper, and spun up mud to produce the standard orange peel or knockdown. This job had neither of those textures. Picture 3 is the swept effect I was able to achieve with a tool I fashioned from parts in my van, I'll explain next. Now, I walked out into the larger room and after taping the joints and to the ceiling, I looked at the texture on the walls adjacent to my work. Humm, I noticed a combination of modeled and swept texture, I didn't have a stiff bristle brush to do this effect. I tried to remove the handle of my broom, couldn't separate the head from the handle. So, I scanned over the rest of the van for other tools to use, my shelf with chip brushes, yes those cheap brushes used to sample colors and other small touch ups, but 1 - 3 inch brush isn't going to do much in a timely manner. So, I took a paint stick, laid 2 brushes end to end, cut the stick the length of the brushes, taped it all together and Ta daaaaa! Picture 4: I present to you the Swepter 6200! Yes, I could have called it the brush tool, or swept tool 2000 or even 2.0, but come on, Swepter 6200 can have a whole line up with different sizes and be called LE, SE, XL and so on. I'll prime and paint after a night of drying to complete the job. The homeowners will come home to the finished walls(they erected) and sweet aroma of LEED, GREEN, and 0 V.O.C.(Volatile Organic Chemicals) paint. I snapped a couple pics to finish out this segment of finished product. The 5th pic is the skip trowel and the final pic is of my work in the gray tan color and just beyond is the texture I matched. Not sure how well that will show up, but there it is. This new year is being rung in with frigid sub-zero temperatures all across the region. Nothing new for us, other than, we typically have some warmer days sprinkled in there, but not this last week nor the next weeks weather forecast has any reprieve from this Jack Frost effect.
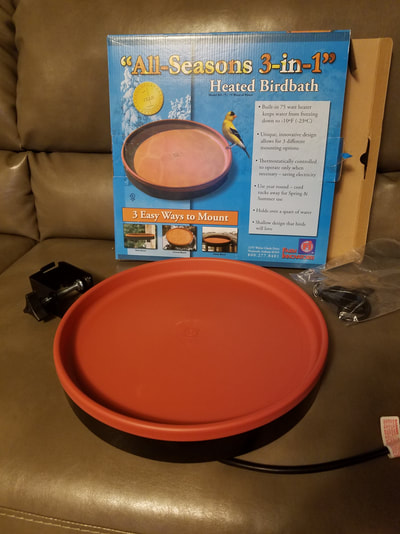
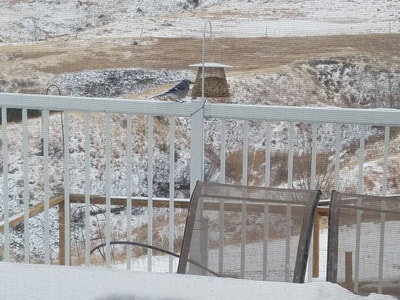
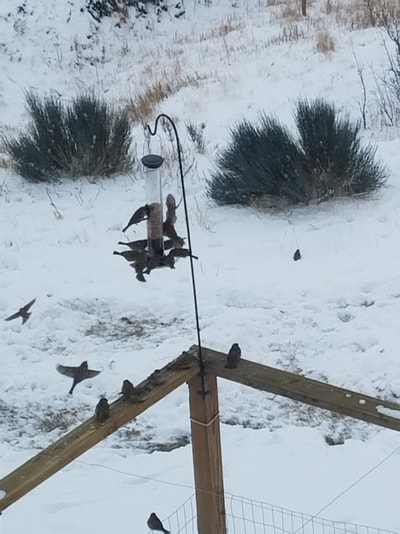
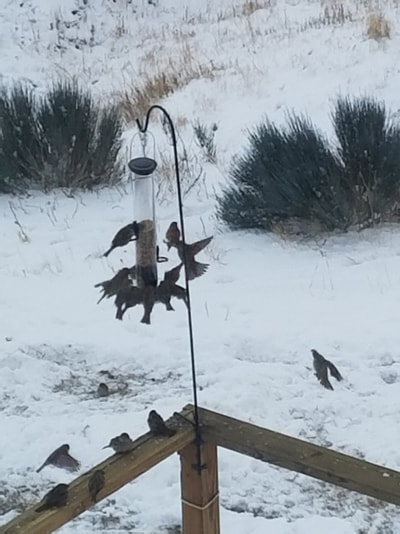
With weather like this, and knowing my family is safe, my thoughts go to the little creatures outside surviving this on-slot of deadly temps. The little finches have a small flock of about 40 hanging around the new bird feeders I received as gifts. Enjoyable to watch them compete for the limited perch space, grab some seeds, then all swoop to the safety of the shrub line just down the hill. Moments later, they return to repeat the process for most of the day and afternoon, with only a short nap break. I've read articles mentioning that the feeding birds on a regular basis also would require fresh water to help digest, very understandable, but with only frozen ice crystals, snow, and little sun to warm surfaces to provide melt for them to gather melted water, I purchased a heated bird bath to help them out. Today the Birdbath arrived, though I was home too late to set it up. |
AuthorMatt, family man, husband, gardener, business owner, also taekwondo student and hopes of becoming an inventor. ArchivesCategories |
 RSS Feed
