>>Hydroponics First Round in the books<<
I get myself into trouble when 1. I get an idea, 2. see something that sparks an idea, or 3. Or my wife agrees to one of my ideas. I know these three aren't too different, but to me, it's the difference between just an idea and a full blown project that consumes my mind and work areas around the house. Precisely what happened this year.
Last year(2017) gardens did ok, I did more drip irrigation in the gardens, added a drip line to the pots on the deck, and set plants on the ground below the deck pots to receive the runoff. This told me the water bill would be high as normal. Drip irrigation saved lots of my time in the long run, after the initial set up. Probably saved some water, or at least put the water exactly where we wanted it, but I asked myself, is this efficient enough? So, I searched the internet for ways to garden, primarily hydroponics. Instructables.com provided a picture and a "how I did it" story that I thought would work for our situation. The wife and I had discussed replacing the pots that we used one the deck for container gardening, and the face that $40 to $100 per pot, depending on the size, would quickly add up to $500 to $800 in just pots, plus potting soil. I proposed a hydroponics system to use the rain water that I harvest. She agreed, but needed to see a plan.
Last year(2017) gardens did ok, I did more drip irrigation in the gardens, added a drip line to the pots on the deck, and set plants on the ground below the deck pots to receive the runoff. This told me the water bill would be high as normal. Drip irrigation saved lots of my time in the long run, after the initial set up. Probably saved some water, or at least put the water exactly where we wanted it, but I asked myself, is this efficient enough? So, I searched the internet for ways to garden, primarily hydroponics. Instructables.com provided a picture and a "how I did it" story that I thought would work for our situation. The wife and I had discussed replacing the pots that we used one the deck for container gardening, and the face that $40 to $100 per pot, depending on the size, would quickly add up to $500 to $800 in just pots, plus potting soil. I proposed a hydroponics system to use the rain water that I harvest. She agreed, but needed to see a plan.
The Inspiration picture
These pictures and the whole article gave me the foundation to start from. My thoughts first were, I can't use modified 2 litter bottles because they'd not be sturdy enough to handle the winds we get here frequently. Winds averaging 20mph and gusts up to 50mph often. PVC is a very sturdy material and perfect for handling water, not under pressure. This system is an 'ebb and flow' system. More on this, next.
Types of Hydroponics
- Wick Systems. Like a filter humidifier.
- Deep Water Culture (DWC). Suspended plants (leafy) over water.
- Nutrient Film Technique (NFT). Water pumped over a sheet where the roots get to grab water.
- Ebb and Flow (Flood and Drain). MY CHOICE**
- Aeroponics. Plants in humidity/misting areas.
- Drip Systems. Also my choice, continuing to do this in the soil gardens.
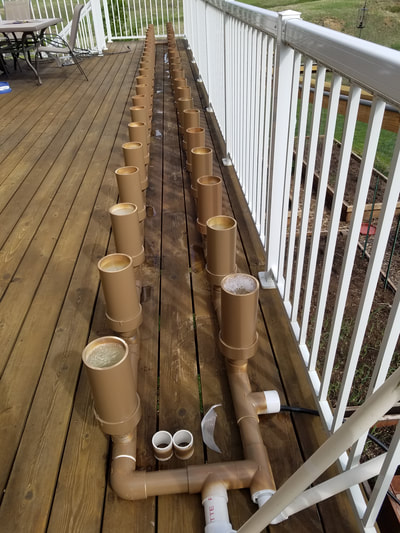
Most of these systems require a large amount of space, controlled environment with lighting, some elaborate pump and misting systems, etc. The Ebb and Flow method still rang strongest in my mind. The measurement for deck space was about 30'x2'. The inspiration picture showed an alternating pots on a 2 line setup. That was perfect for us. I measured, calculated, price compared, added up and a total of $580 was the bottom line with pump, PVC parts, fittings, timer, aerator(fish tank), growing medium, and finally the most important, fertilizer(I chose liquid 3 part system for ease of use). I ask the wife if 46 pots would be enough to replace the 18 we'd normally used. She said, "Wow! Really? I get that many?"
So here comes the hardest part of this article. Do I include pictures and explain every step along the way, or just the highlights with a moderate amount of choices and decisions made and why? Obviously a good mix of both, because I often lack the editorial-ability within my head to maintain a constant even course while explaining things I'm excited about.
So here comes the hardest part of this article. Do I include pictures and explain every step along the way, or just the highlights with a moderate amount of choices and decisions made and why? Obviously a good mix of both, because I often lack the editorial-ability within my head to maintain a constant even course while explaining things I'm excited about.
The Building of our system.
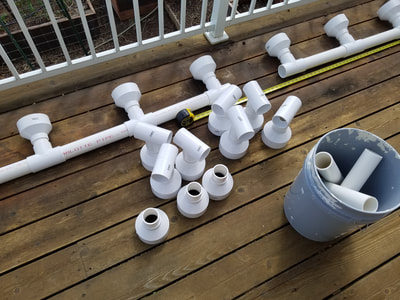
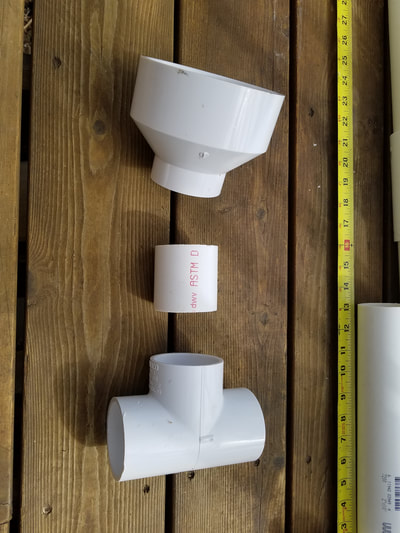
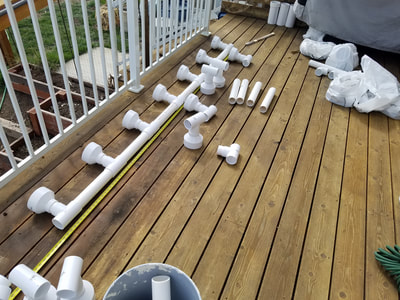
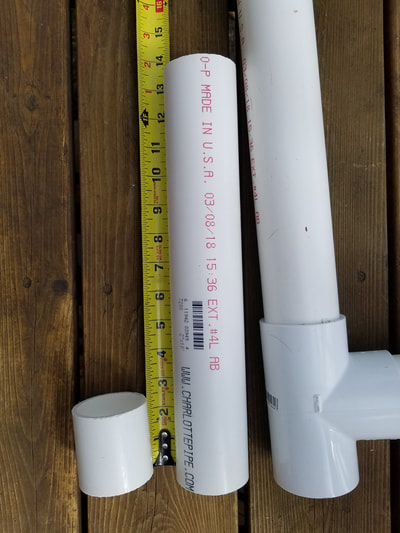
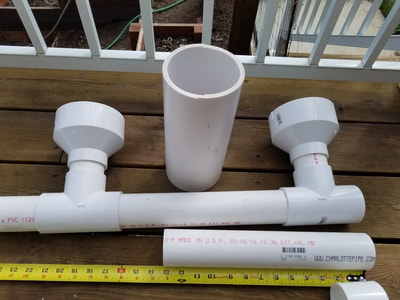
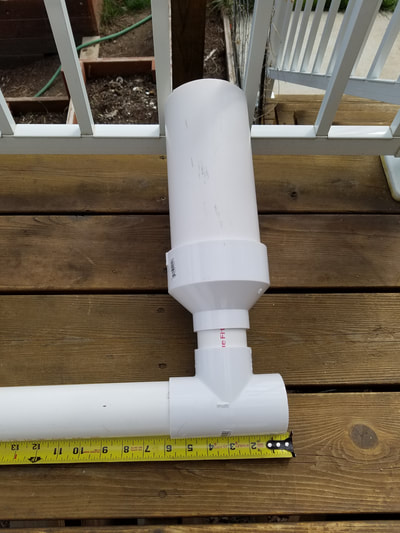
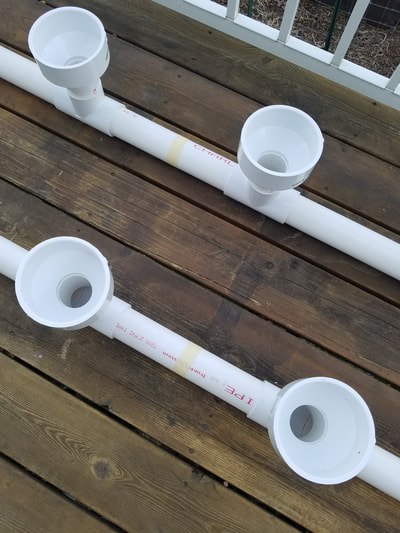
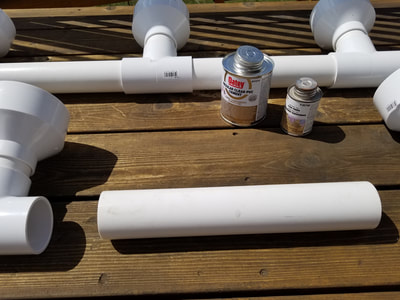
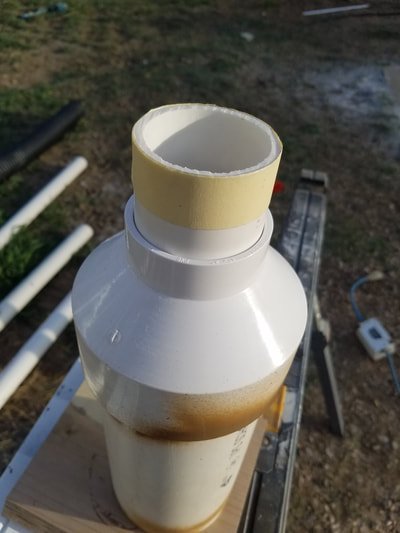
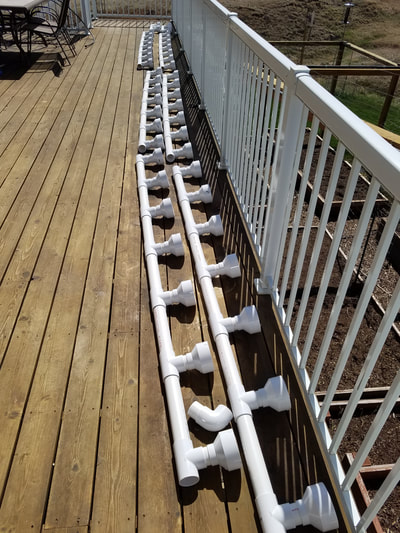
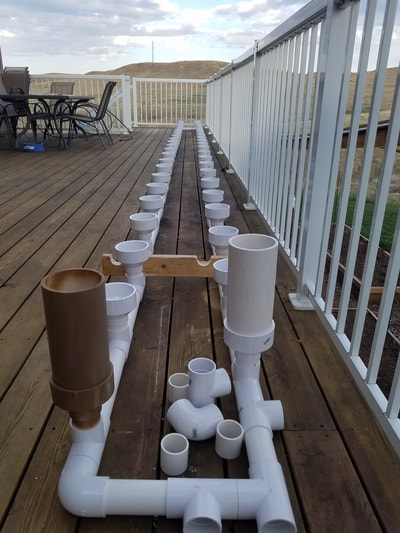
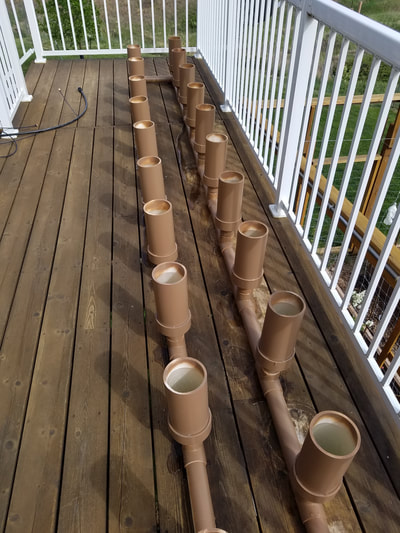
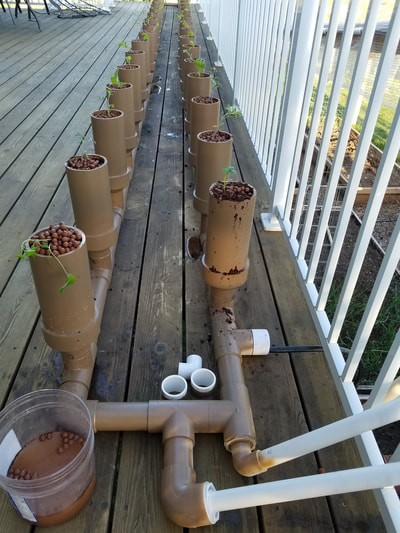
Schedule 40 2" pvc pipe, 46 count 4" to 2" reducers, T's, 90* elbos, cleaner and cement, and 6 rattle can Nutmeg colored spray cans. Measuring, cutting, sanding burs off edges, cutting, cutting, then dry fit. I used masking tape to protect areas to be glued. I didn't want leaks because glues and paints don't mix well, or at all. I used 4" pvc for the pots cut at 10" each. I think the pictures are fairly self explanatory. The last pic is of a pot lightly sanded, wiped clean, and ready for color.
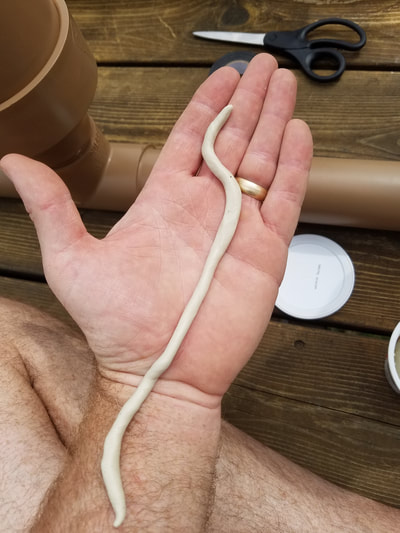
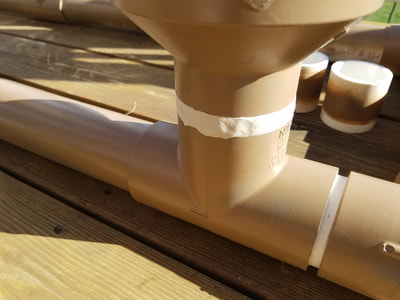
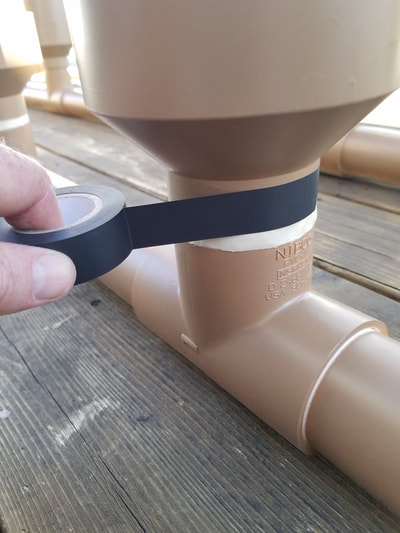
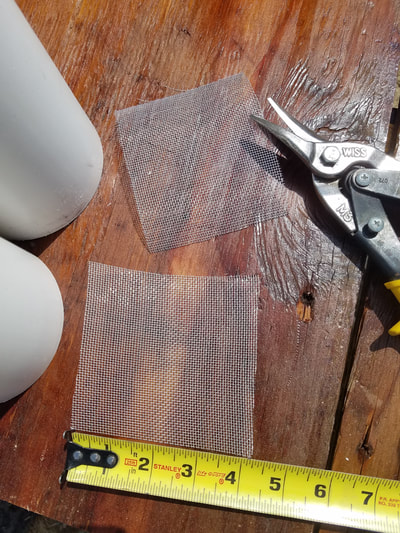
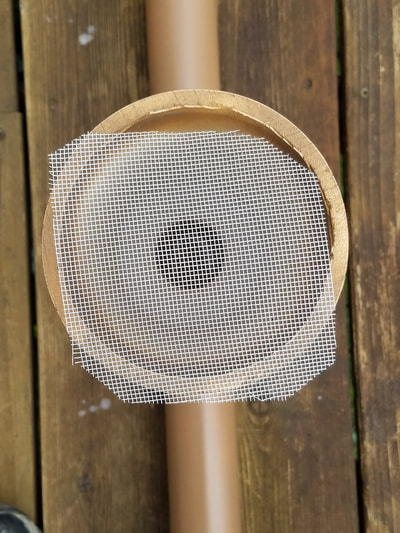
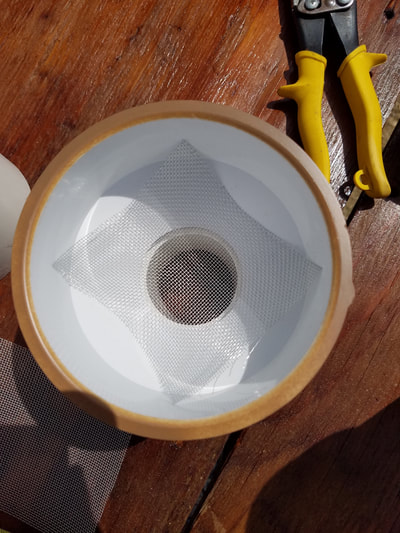
I glued 10' sections together, then left 1 unglued fitting between the 10' sections to help with storage. Each pot had 1 unglued part at teh base that connected to the T. that way I could pull each pot out to clean and store at the end of the season. I thought it would be tight enough to hold water without being glued, but during testing, there were a few leaks. I used Plumber putty, rolled into a rod, squeezed into the gap between the pot and T, where the unglued connection was, then I used electrical taped to cover the putty from weather, and painted to protect the tape. I used electrical tape because, clean release, stretchy to compress the putty into the space, and cheap. Worked great. I then cut aluminum screen into 3.5" squares to cover the bottom hole and retain the growing medium in the pot.
Finally the pump and basin with nutrients.
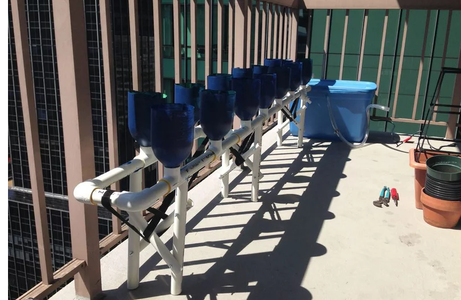
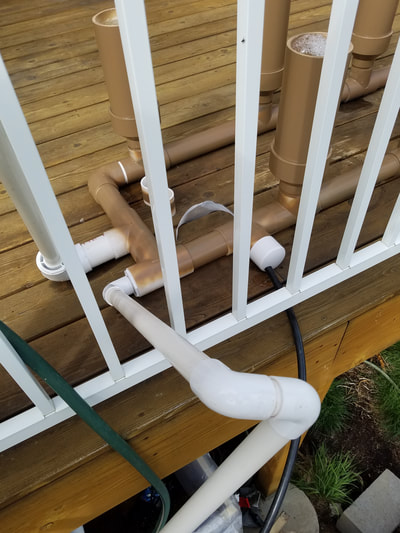
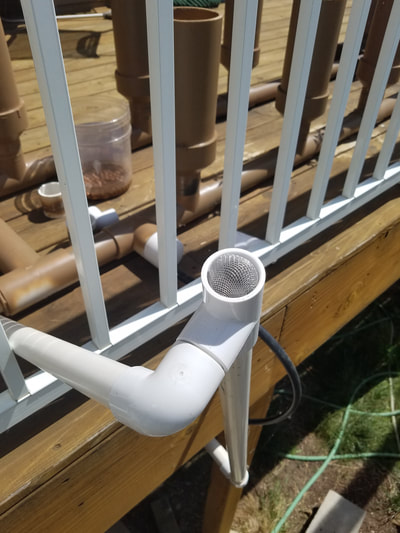
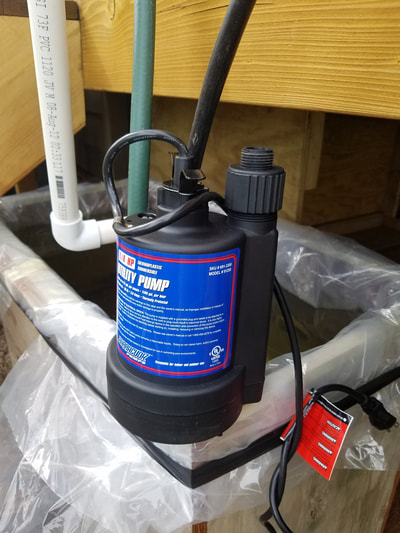
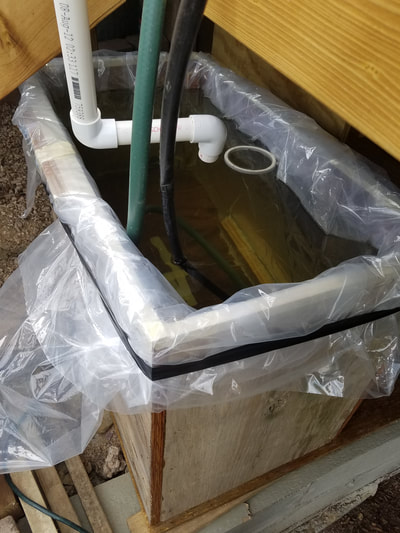
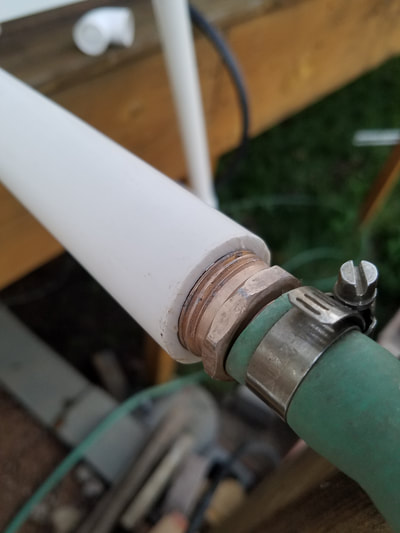
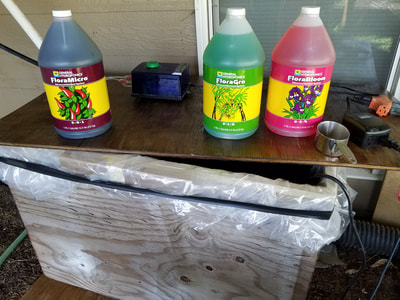
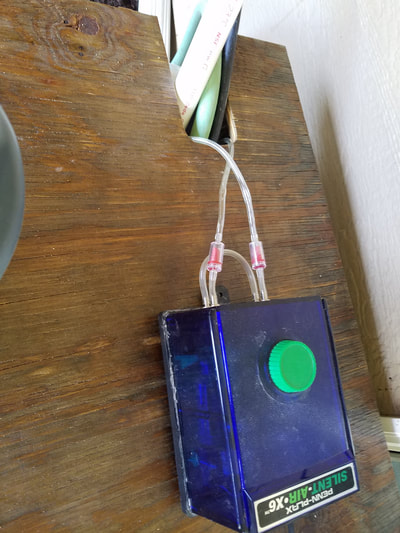
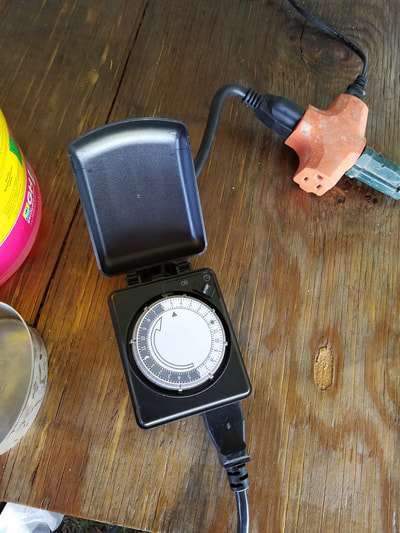
First pic, the system is full of water, at the level I wanted, not overflowing, not too low, just right. Second pic. left center is where the water inlet is, then the pipe closest to the camera is the overflow level control, and a little to the right, next to the deck is a cap with a black 1/2" tube. That is the drain tube which will slowly drain the system after the pump turns off. The Pump is a standard inexpensive 1/4 horse or 1/3 horse power sump/utility pump with a hose fitting. The pump can lift water up to 25', but my system only needed to go up 10'. The basin was located under the deck, in the shade to help keep cool from the summer heat. Then next pic is of the plywood basin I built, 80 gallon capacity, waterproofed, lined with plastic, and a month later, scrapped that and used a plastic garage bin. K.I.S.S. Keep It Simple Stupid, is what I repeated to myself. Then, the very important parts, aerator to not suffocate the plants, timer set at every few hours during the heat of the day and less at night. Finally, the food. The most cost effective, pre-mixed fertilizer program even the astronauts use, FloraGro. I followed tutorials on Youtube about testing the water to be used, I was using harvested rain water(more on that in another story), so I didn't have to worry about chlorine, acidic/alkalinity levels, dissolved solids, etc. So, because of me using the rain water, all I had to do was count the gallons of water in my container, then mix in the correct amount of fertilizer in the correct steps and reach the desired numbers.
Oh the numbers. A tool called a EC meter or ppm meter will measure the level of solution in the water to let you know if there is enough or if it's too hot.
On the website for FloraGro and general hydroponics sites, they have lists of plants that are categorized by the range of their feeding range.
Oh the numbers. A tool called a EC meter or ppm meter will measure the level of solution in the water to let you know if there is enough or if it's too hot.
On the website for FloraGro and general hydroponics sites, they have lists of plants that are categorized by the range of their feeding range.
PLANTING!!!
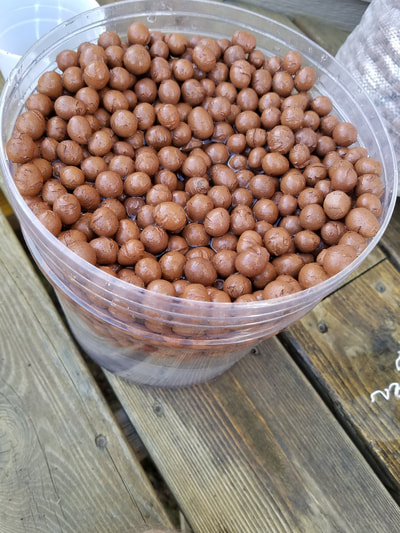
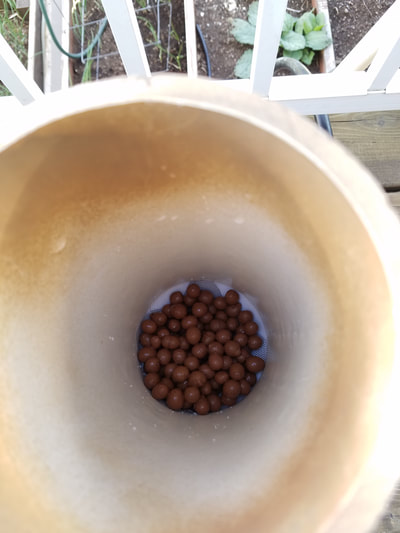
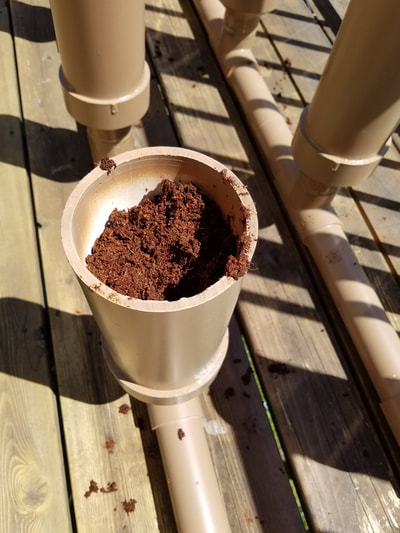
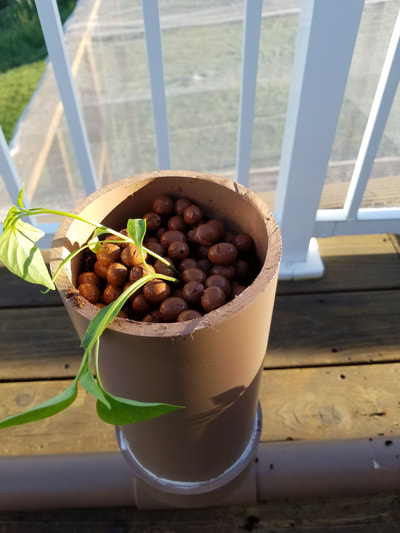
June 3rd. Filling the pots for planting. The mediums I chose were Hydroton(expanded clay beads) and coconut husk fiber(sold in tightly compressed bricks, place in a bucket and add enough water to hydrate and expand the material). I layered the growing mediums with a cup of hydroton on the bottom to help keep most of the finer textured coconut husk fiber from flowing through the screen and into the bottom tube. Then after nearly filling the main body of the pots wit moistened coconut fiber, I topped it off with another cup of beats, to help keep the fiber moist and in place from the winds we get. Plus I was thinking the beats on the top would help support the stalks of the plants as they start to get enough roots to support themselves.
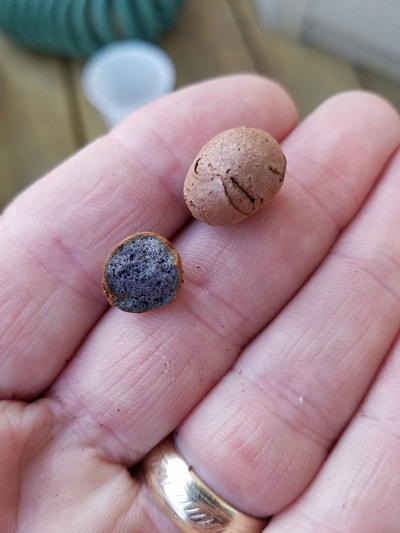
The first picture is of a broken hydroton bead next to an intact one. There are different sizes, I got medium in size. It is supposed to hold onto moisture but I wanted to use these for the bottom layer and topper to help water flow into the posts from the bottom and, like I mentioned, help with retaining moisture of the material underneath and support the plants as they grow. Second pic is soaking the beads to rinse some dust off of them. Third, the 1 cup at the bottom of a pot. Forth, coconut husk fiber(moistened). Fifth is with a sweet lil banana pepper plant and a layer of the hydroton. The final picture is of the first run of the system. As you can see, that first pot on the right with all the overflow of fiber, became the "burping" pot. bubbles from the water flowing in had air that would push all the material and plant out. That pot ended up fully purging all material the next day whilst I was at work.
The first picture is of a broken hydroton bead next to an intact one. There are different sizes, I got medium in size. It is supposed to hold onto moisture but I wanted to use these for the bottom layer and topper to help water flow into the posts from the bottom and, like I mentioned, help with retaining moisture of the material underneath and support the plants as they grow. Second pic is soaking the beads to rinse some dust off of them. Third, the 1 cup at the bottom of a pot. Forth, coconut husk fiber(moistened). Fifth is with a sweet lil banana pepper plant and a layer of the hydroton. The final picture is of the first run of the system. As you can see, that first pot on the right with all the overflow of fiber, became the "burping" pot. bubbles from the water flowing in had air that would push all the material and plant out. That pot ended up fully purging all material the next day whilst I was at work.
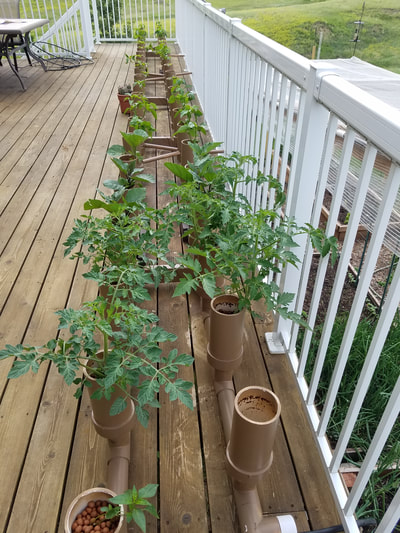
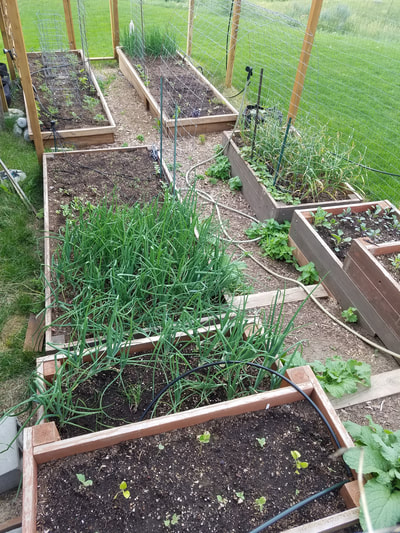
June 28th comparison with hydroponics and standard dirt gardening. Not a perfect compare, because not the same plants were used in both. The garden goes crazy later and I'll show that later.
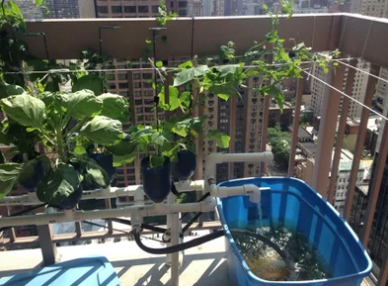
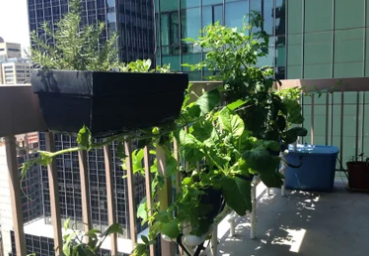
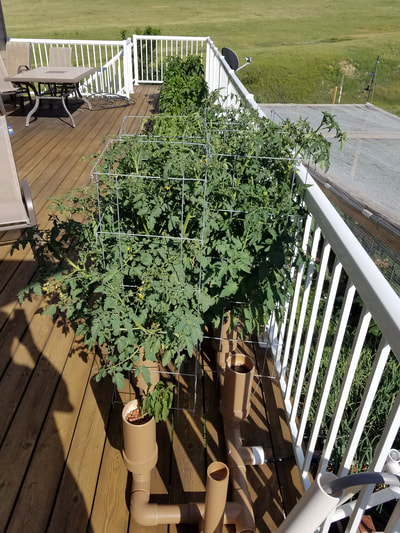
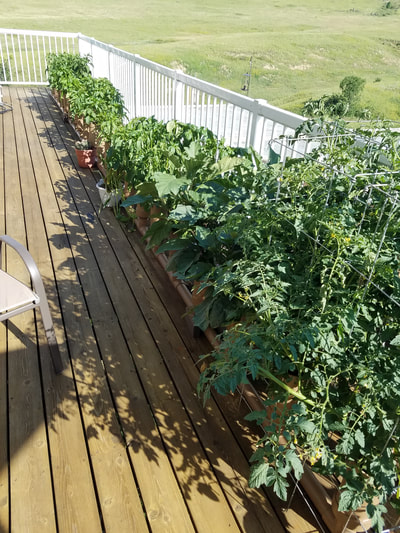
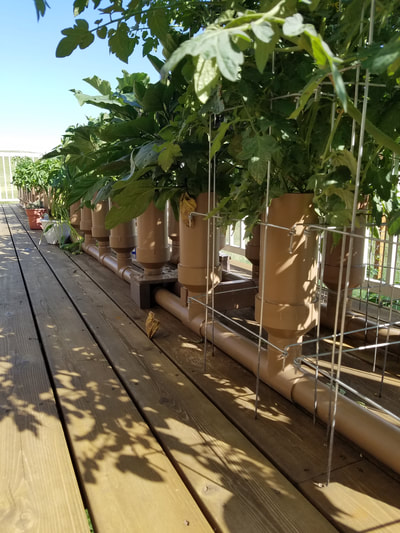
By July 20, we'd lost 2 plants due to winds and the edged of the pots were still a little sharp. I plan on sanding to round off the inside of the pots before next set up. But LOOK at that growth!!
